A friend of mine linked me to an excellent video where Mike shows how to modify a thermal camera to have a closeup lens:
https://www.youtube.com/watch?v=Lie771fzBaw&feature=youtu.be&list=UUcs0ZkP_as4PpHDhFcmCHyA
Thermal cameras are beautiful things, but the wavelengths of light they work with are a tad unintuitive to us. Things we think of as transparent often turn out not to be, and ordinary camera lenses are totally opaque to thermal radiation.
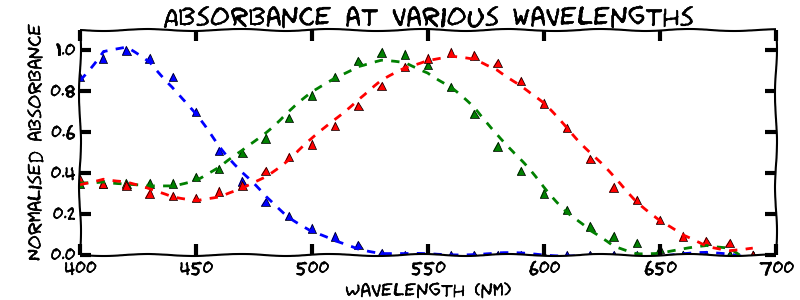
Humans can only see from about 350nm to 800nm. Here’s graph code I had laying around for some other stuff, which shows how the human eye’s photoreceptors respond to various wavelengths:
Now, where does thermal imaging fit into that graph? Well, it doesn’t. Let’s zoom out a little:
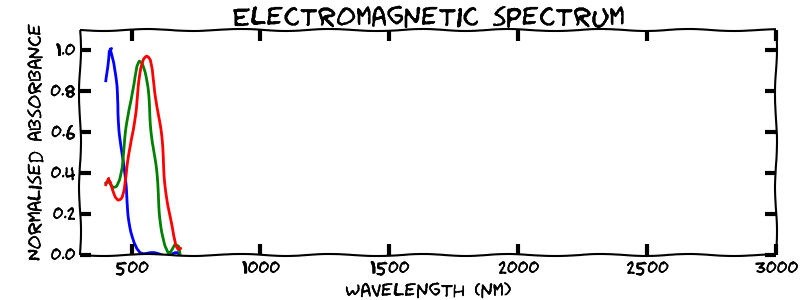
Hmm.. nothing yet. Let’s keep zooming out more:
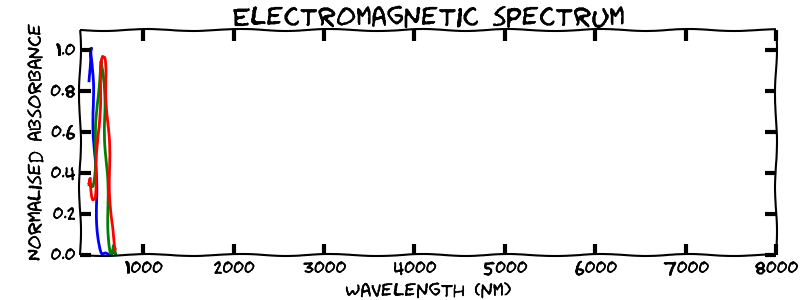
Er.. a bit more then:
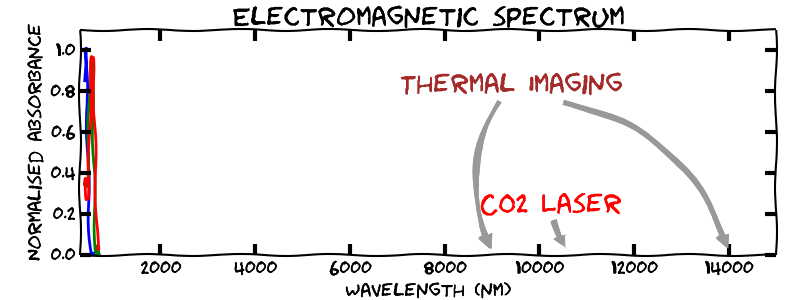
Ok, we can now see just how far from normal light these cameras work at. It also helps explain why our current lenses aren’t going to pass muster.
Thankfully lasercutter lenses, which are designed to work in the far infrared (about 10,000nm) are available cheaply and easily. eBay has a large supply, and I just ordered a pair for $60AUD.
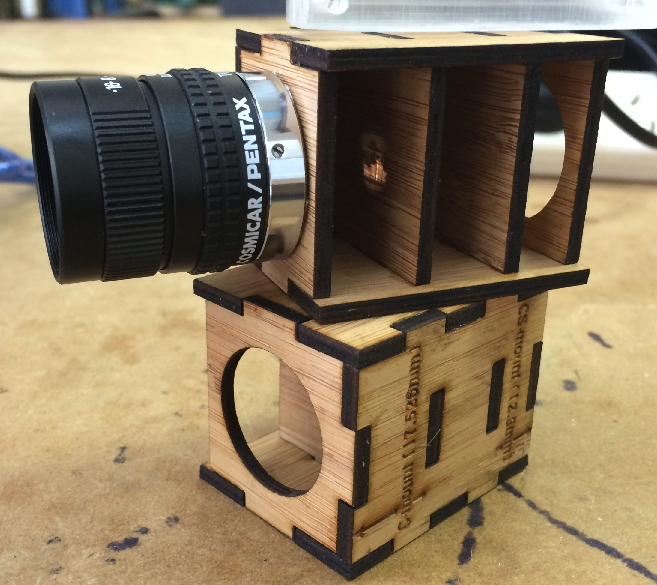
In the meantime, I borrowed a spare lasercutter lens from a friend and designed a simple frame to hold it in operation without getting grimy or scratched:
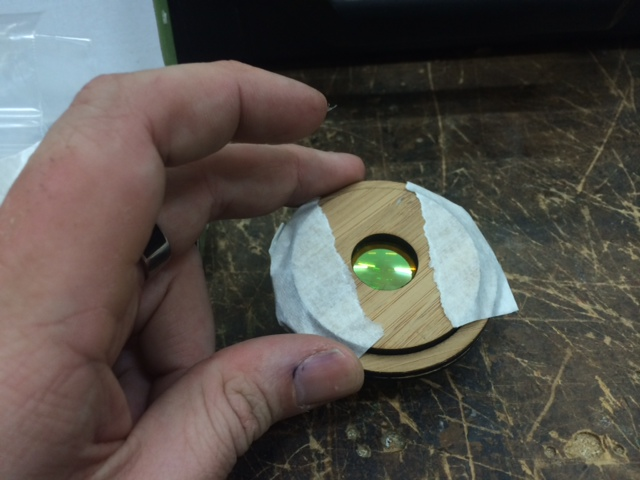
You can hold it in front of the camera fairly easily. I’ll make a better mounting soon that’ll be hands free:
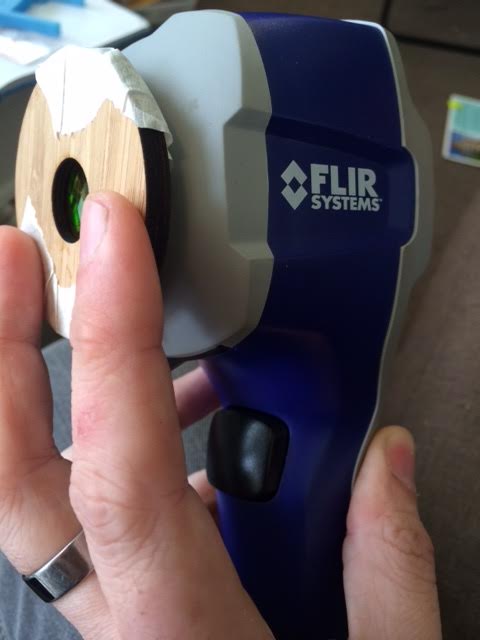
Camera with lens held in place
Here’s a thermal shot (with the unmodified camera) of an arduino board that had been running for a long time:
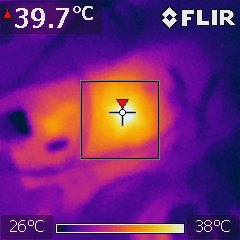
Wide shot
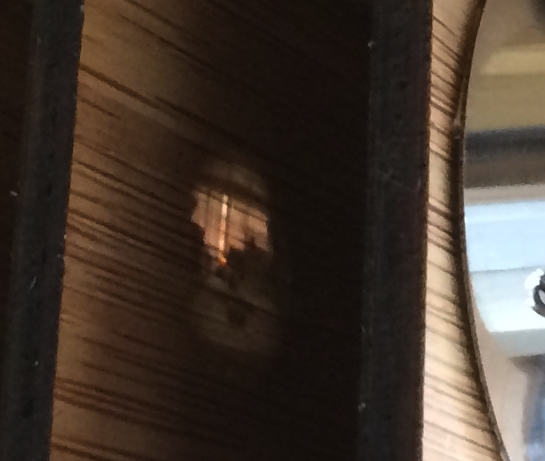
And here’s the sort of close up you can get with the external lens added:
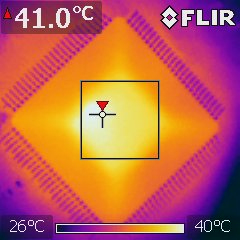
Close up