First challenge was getting the scope body unloaded and mobile. Unfortunately the casters were removed at some point, so getting the (546kg) frame up on to a pallet jack and out of the truck at the other end was non-trivial.
Scott and I spent about an hour working on it and eventually used a pair of crowbars and a series of wooden shims to bootstrap the frame up to a height the jack could get underneath.
That got the microscope into the storage unit, but it was stuck in one position at that point. I later used some cheap moving trolleys from the hardware store underneath the frame to provide mobility. Getting the trolleys in place wasn’t easy either. It was easily an hour of playing with blocks of wood, the pallet jack as a lifting device, and the trolleys in various locations before i could put them down and take away the jack safely. If I’d had a crane it would have been done in 2 minutes, but sorting where you can lift while not getting in the way of where the trolleys were going in was an interesting challenge.
With all that done the base is now mobile which will make the restoration much easier:
I started documenting all the accessories and detectors that I had, and making sure all parts of the vacuum system were accounted for:
One irritating thing about vacuum engineering is that there’s several different standards for connections, as well as a host of manufacturer custom parts. If I’m going to recondition this system I need to ensure I have stock of all the right consumables (copper gaskets, o-rings, etc) and identifying them can sometimes be tricky.
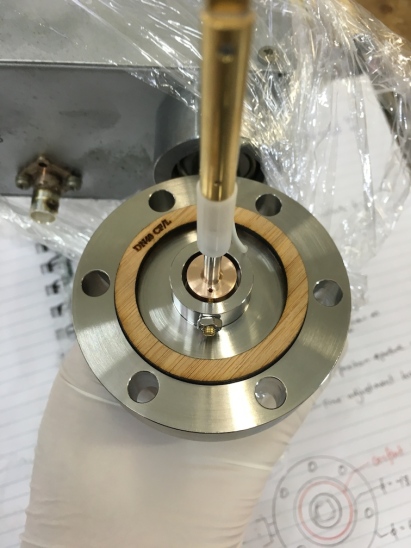
To aid with that I came up with a couple of tools. The first is for conflat flanges:
(Thingiverse link here: http://www.thingiverse.com/thing:1132406)
The second problem was ensuring that every connector in the system was spoken for. It’s embarrasingly easy to miss something or assume that two parts are the same thing, so I like using placeholders or labels to take the guesswork out of it.
I could just reinstall the actual parts, but I need new gaskets to do that properly, and I don’t want to risk things being damaged by installing them loosely in the meantime. Hence these ‘IOU’ plates for the detectors and apertures:
(Thingiverse link here: http://www.thingiverse.com/thing:1132393)
The vacuum system looks pretty good. That’s the main thing I was worried about, if stuff was damaged or dirty it’s very difficult or impossible to clean to UHV level again. I’m fine with rebuilding all the power supplies if need be, but I’m not quite up to machining all the pole pieces for a magnetic deflection system from scratch myself.
Another godsend is that the primary pump for this microscope’s sample chamber is an oil diffusion pump, not a turbomolecular vane-type pump. Turbo pumps are awesome, but require incredibly precise engineering and control systems to stop them self destructing, and have very strict maintenance requirements, as well as some costly consumables like magnetic bearings.
Oil diffusion pumps on the other hand have no moving parts apart from oil, and will run reliably for years if properly interlocked. Also, I’ve previously reconditioned a diff pump for my other vacuum system, so I’m quite comfortable with what’s involved.
Oh, and we also scavenged the vacuum system from a Transmission Electron Microscope at the same time. Here’s us testing the pneumatic control valves:
At this stage I’m thinking of converting the half-finished SEM I was working on previously into a large sputter coater for microscope samples. I could then use this pump to make a general high vacuum experiment station or something. Hmm..


