
The previous writeup was getting a bit long, so I thought I’d put the steps used for making the boxes in their own post.
I started with the frame, using pine and biscuit joints for securing it:

Then used the router to put a shelf underneath where the lid & base could be mounted:

Testing the router depth
It’s extremely handy having a lasercutter nearby. You can make little templates & jigs at a moment’s notice:

Because I didn’t have a 32mm template laying around, and having a robot make one for me was easier than using a compass.
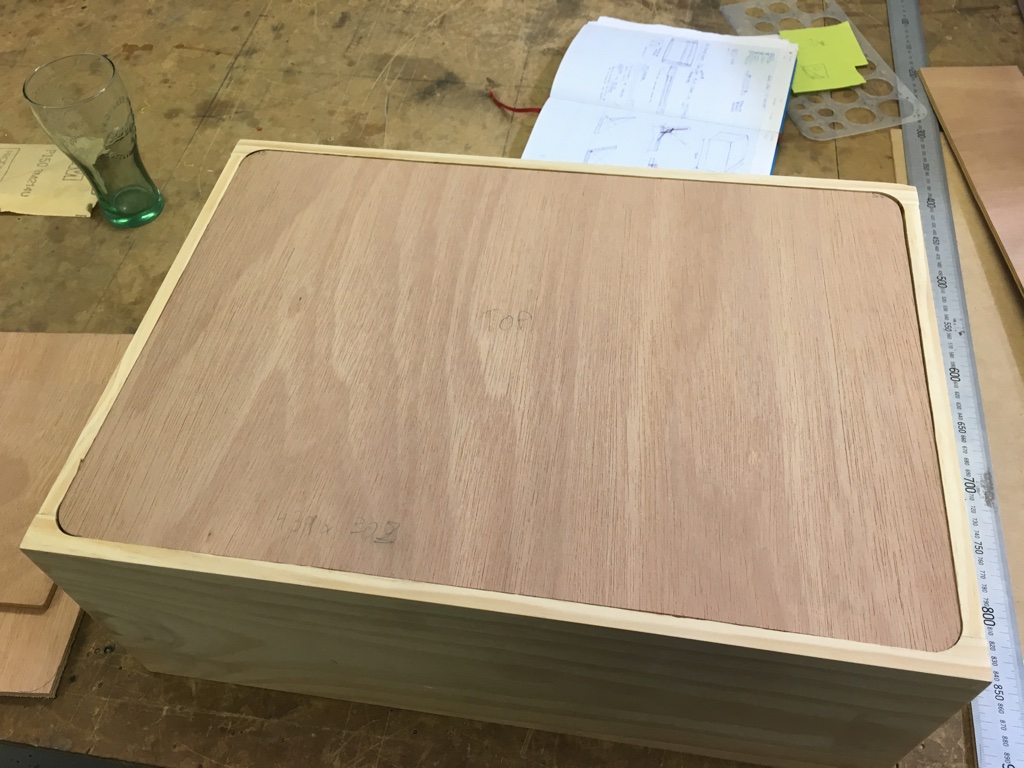
Lids installed and glued.
At this stage the box is, well, a box. A solid hunk of wood glued on all sides. To progress, I cut it in half neatly with a jigsaw, and added a set of hinges, a lid stay (stops it falling open too far), and the threaded rods for canvas storage:

Starting to look like a box
I experimented with a few different methods of holding the canvases in place, before setting on the plastic track from Bunnings.

Dowels, M5 bolts, lasercut slides were all tried before abandoning in favour of the plastic track.
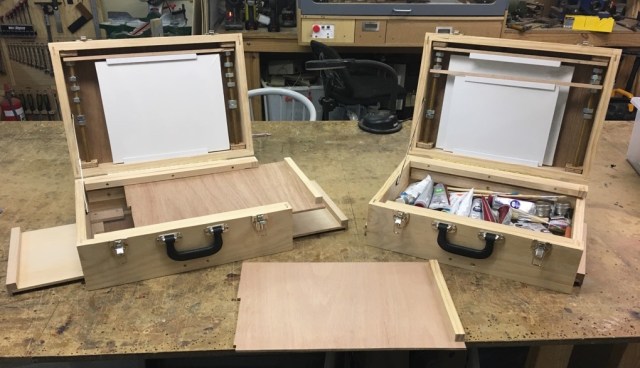
At this stage the top half of the boxes were done, but the bottom just looked like an empty box:

Here was the heart stopping moment. It’s time to add some pullout work surfaces, which meant cutting with a jigsaw into the nice cartesian surface we just went to the trouble of putting together. I had visions of slipping and going out the side, or something, but it turned out pretty well:

The topology of the box irrevocably altered.
I added in some guides, and a stop to hold the surface in place.

From the outside it looks pretty good, and stays flat during use:

Next was time to add in the rails, and the palette surface. To ensure consistent spacing, I made a template by gluing a piece of 1.2mm plastic to plywood the same thickness as the palette. That way the rails should match all the way along, and if there’s any warping of the palette, it has a bit of room to move in:

Wooden block on the left is the rail, ready for installation.
That was pretty much it. I installed the glass palette:
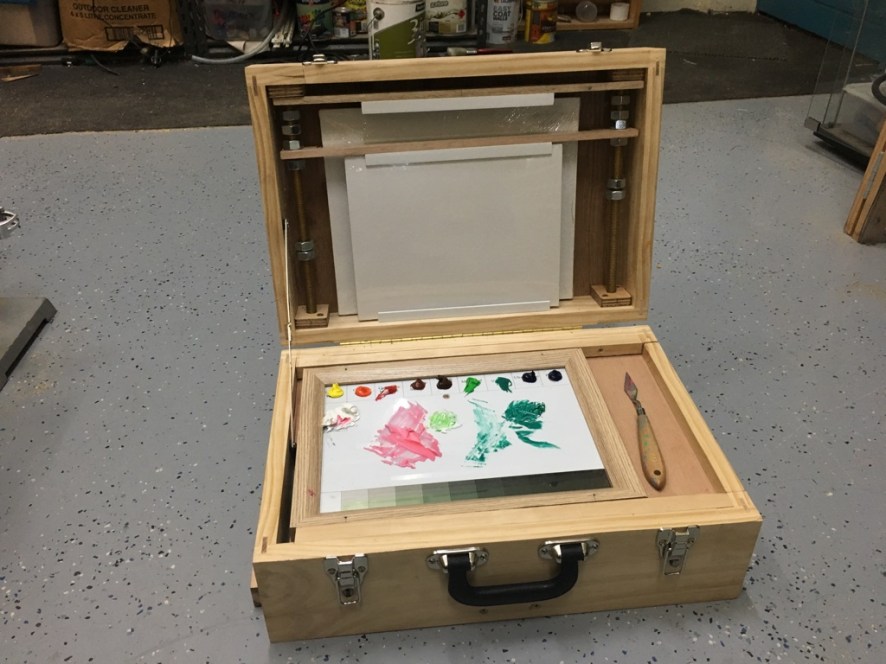
Gave it the final once over:
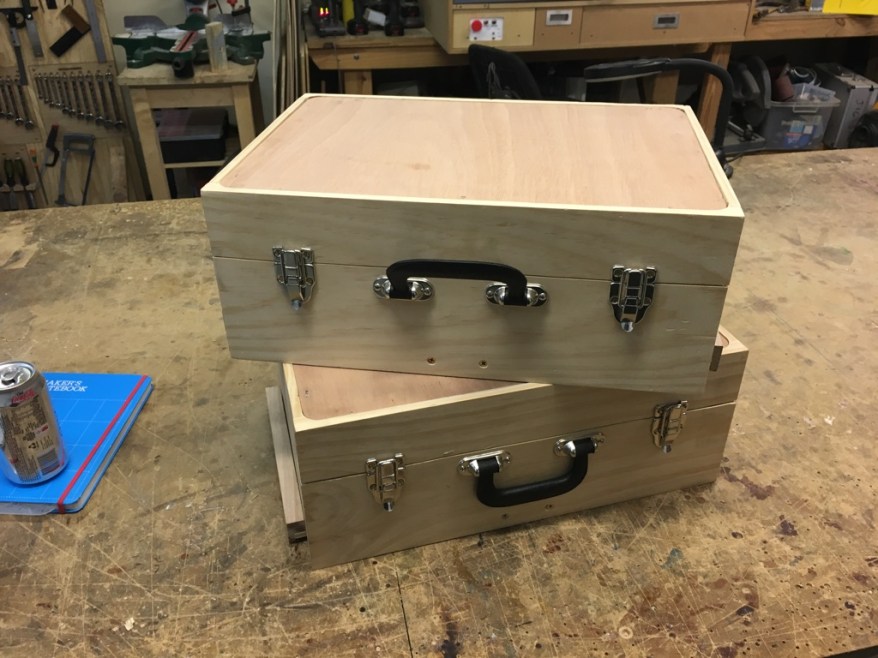
Shoot, need to be able to tell them apart. Just install some name tags:
And we’re sorted!

